


一、安装部署NPS
1.Dockerhub下载镜像
docker pull ffdfgdfg/nps
2.创建挂载目录下载配置文件包
mkdir -p /etc/nps
cd /etc/nps
wget https://github.com/ehang-io/nps/releases/download/v0.26.10/linux_amd64_server.tar.gz
tar -zxvf  linux_amd64_server.tar.gz
3.编辑配置文件
vim /etc/nps/conf/nps/.conf
appname = nps
#Boot mode(dev|pro)
runmode = dev

#HTTP(S) proxy port, no startup if empty
http_proxy_ip=0.0.0.0
http_proxy_port=10000
https_proxy_port=10001
https_just_proxy=true
#default https certificate setting
https_default_cert_file=conf/server.pem
https_default_key_file=conf/server.key

##bridge
bridge_type=tcp
bridge_port=10002
bridge_ip=0.0.0.0

# Public password, which clients can use to connect to the server
# After the connection, the server will be able to open relevant ports and parse related domain names according to its own configuration file.
###自定义
public_vkey=********

#Traffic data persistence interval(minute)
#Ignorance means no persistence
#flow_store_interval=1

# log level LevelEmergency->0  LevelAlert->1 LevelCritical->2 LevelError->3 LevelWarning->4 LevelNotice->5 LevelInformational->6 LevelDebug->7
log_level=7
#log_path=nps.log

#Whether to restrict IP access, true or false or ignore
#ip_limit=true

#p2p
#p2p_ip=127.0.0.1
#p2p_port=6000

#web
web_host=ip/域名
web_username=admin
web_password=*******
web_port = 10005
web_ip=0.0.0.0
web_base_url=
web_open_ssl=false
web_cert_file=conf/server.pem
web_key_file=conf/server.key
# if web under proxy use sub path. like http://host/nps need this.
#web_base_url=/nps

#Web API unauthenticated IP address(the len of auth_crypt_key must be 16)
#Remove comments if needed
#auth_key=test
auth_crypt_key =1234567812345678

#allow_ports=9001-9009,10001,11000-12000

#Web management multi-user login
allow_user_login=false
allow_user_register=false
allow_user_change_username=false


#extension
allow_flow_limit=false
allow_rate_limit=false
allow_tunnel_num_limit=false
allow_local_proxy=false
allow_connection_num_limit=false
allow_multi_ip=false
system_info_display=false

#cache
http_cache=false
http_cache_length=100

#get origin ip
http_add_origin_header=false

#pprof debug options
#pprof_ip=0.0.0.0
#pprof_port=9999

#client disconnect timeout
disconnect_timeout=60
4.启动容器
docker run -d --restart=always -p 10000-10010:10000-10010 --name nps -v /etc/nps/conf/:/conf ffdfgdfg/nps
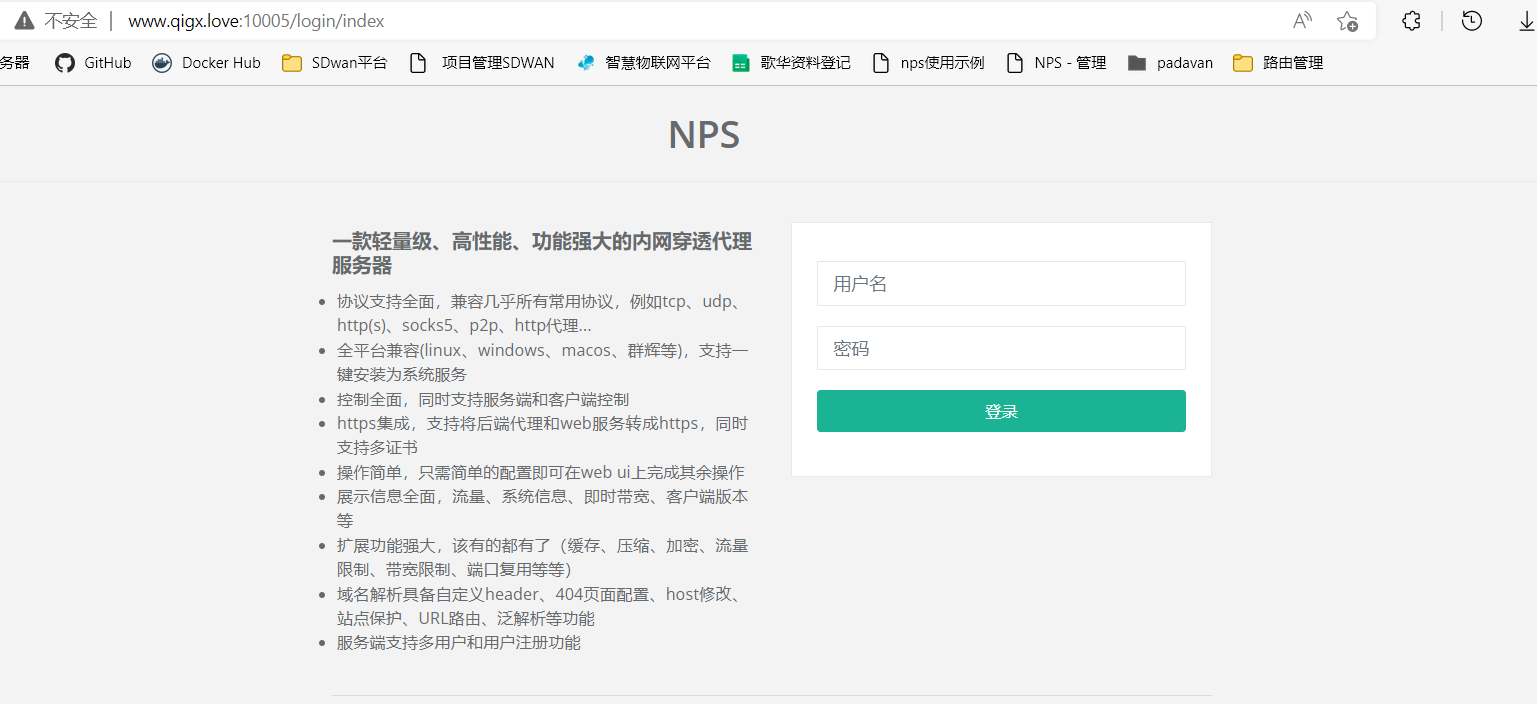
5.登入检查
##我这边做了端口映射、所以直接访问
二、安装NPC以windows为例
1.官网下载安装包
https://github.com/ehang-io/nps/releases/download/v0.26.10/windows_amd64_client.tar.gz
下载解压到D盘npc目录下
得到如下目录

三、部署隧道内网穿透测试
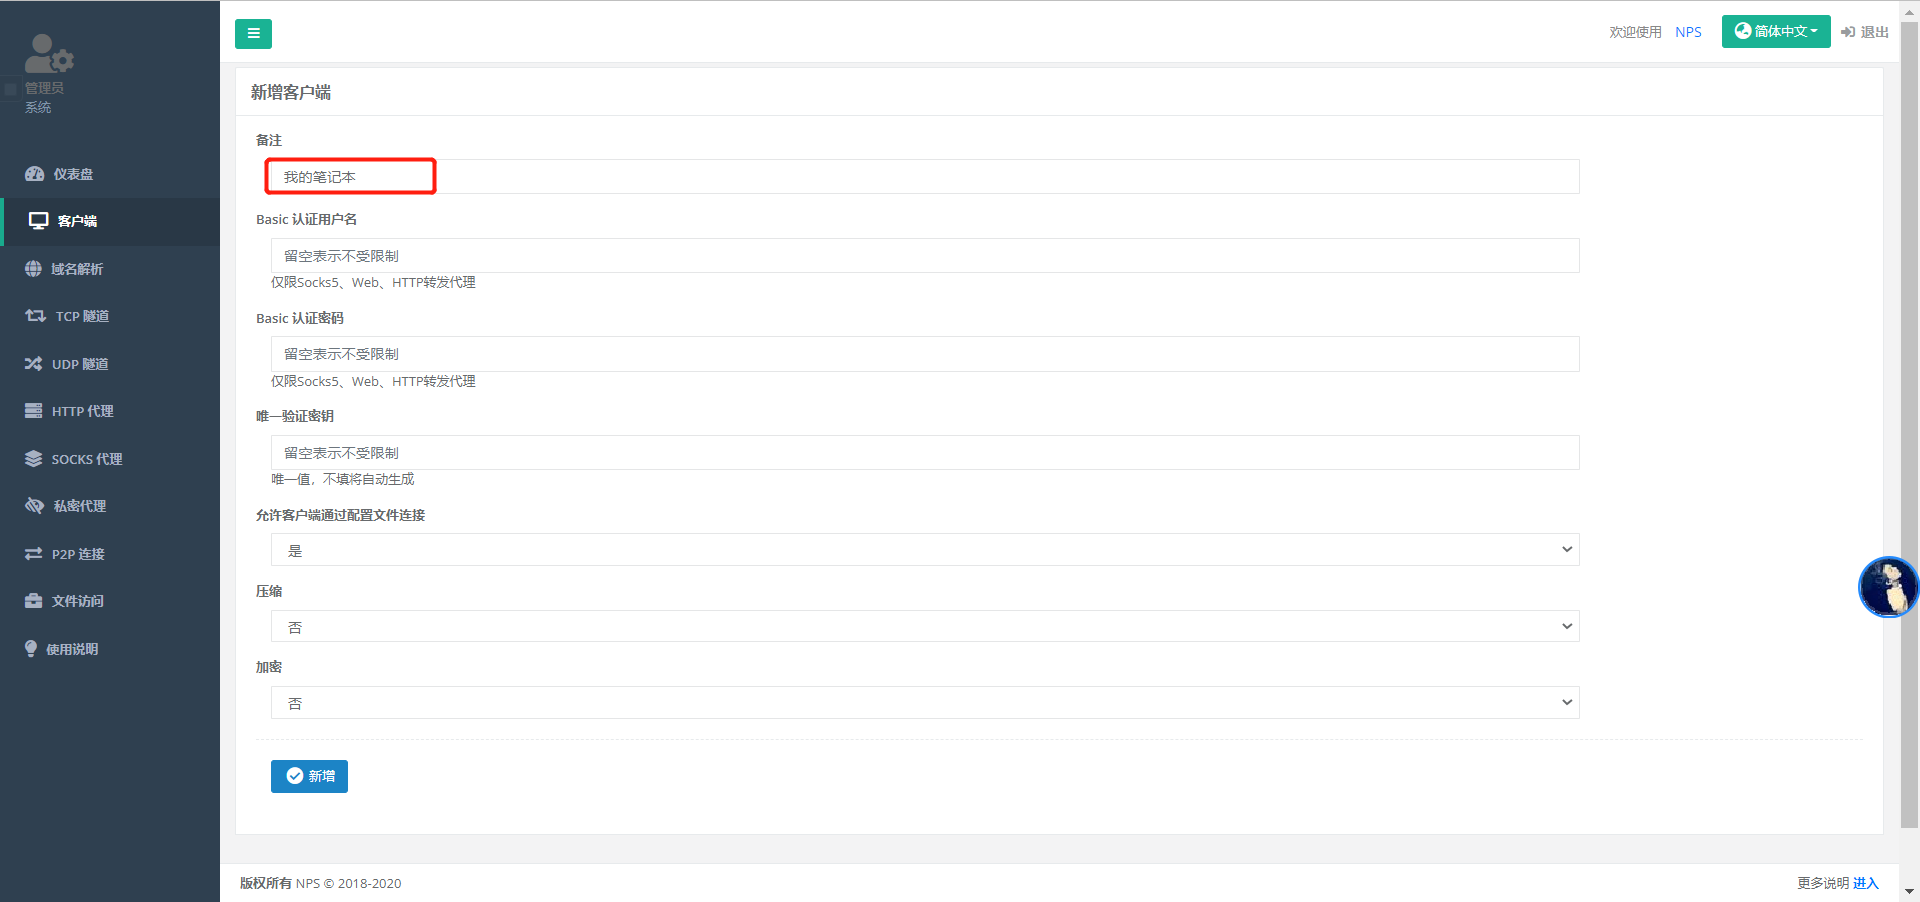
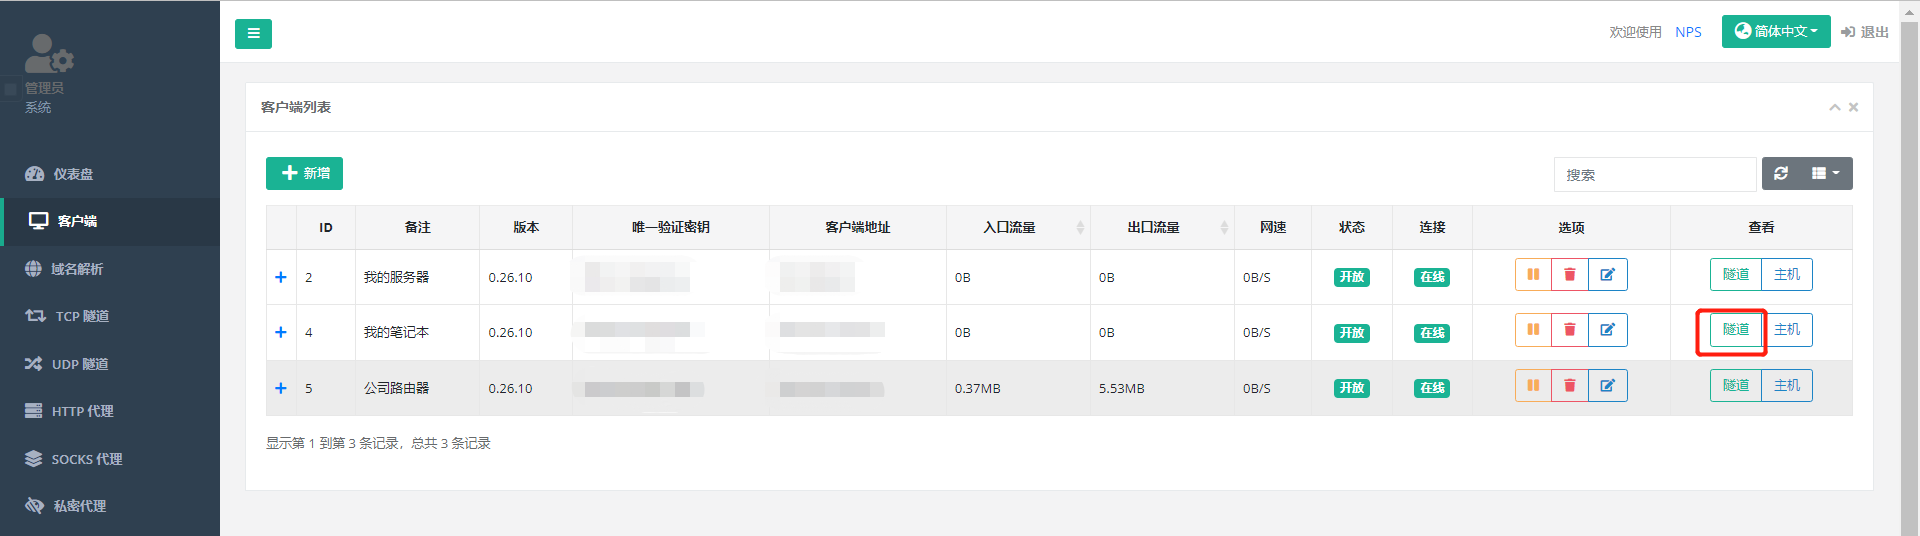
1.登入NPS管理界面,创建客户端生成唯一校验码,填写一个备注即可
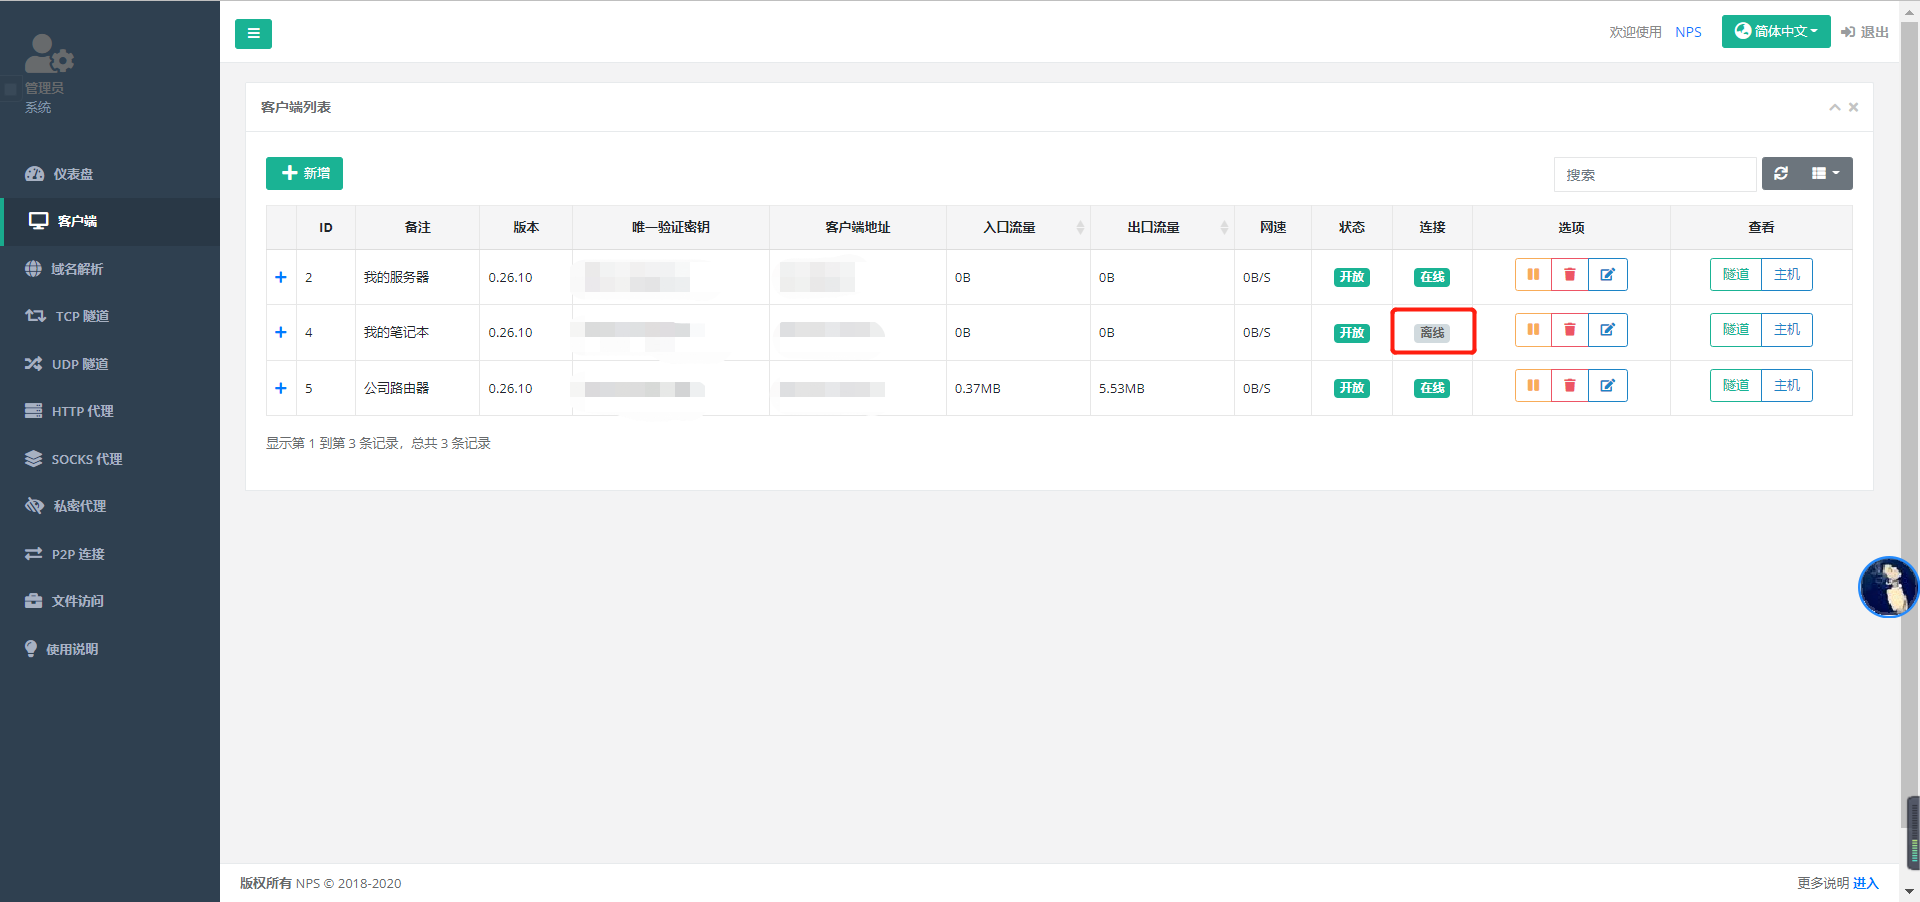
2.回到首页即可看到客户端以及唯一校验码,属于离线状态
3.到我们windows下编辑D盘npc下conf下的npc.conf
[common]
server_addr=IP/域名  ##nps的ip或者域名加端口 即:nps定义的bridge_port=10002
conn_type=tcp
vkey=******  ##nps生成的唯一校验码
4.到我们windows下编辑D盘npc下双击执行npc.exe
2022/08/22 09:59:35.617 [I] [npc.go:231]  the version of client is 0.26.10, the core version of client is 0.26.0
2022/08/22 09:59:35.630 [I] [control.go:97]  Loading configuration file D:\npc\conf\npc.conf successfully
2022/08/22 09:59:35.825 [N] [control.go:174]  web access login username:user password:24qzxqnnc7gylek7
2022/08/22 09:59:35.905 [I] [client.go:72]  Successful connection with server www.qigx.love:10002
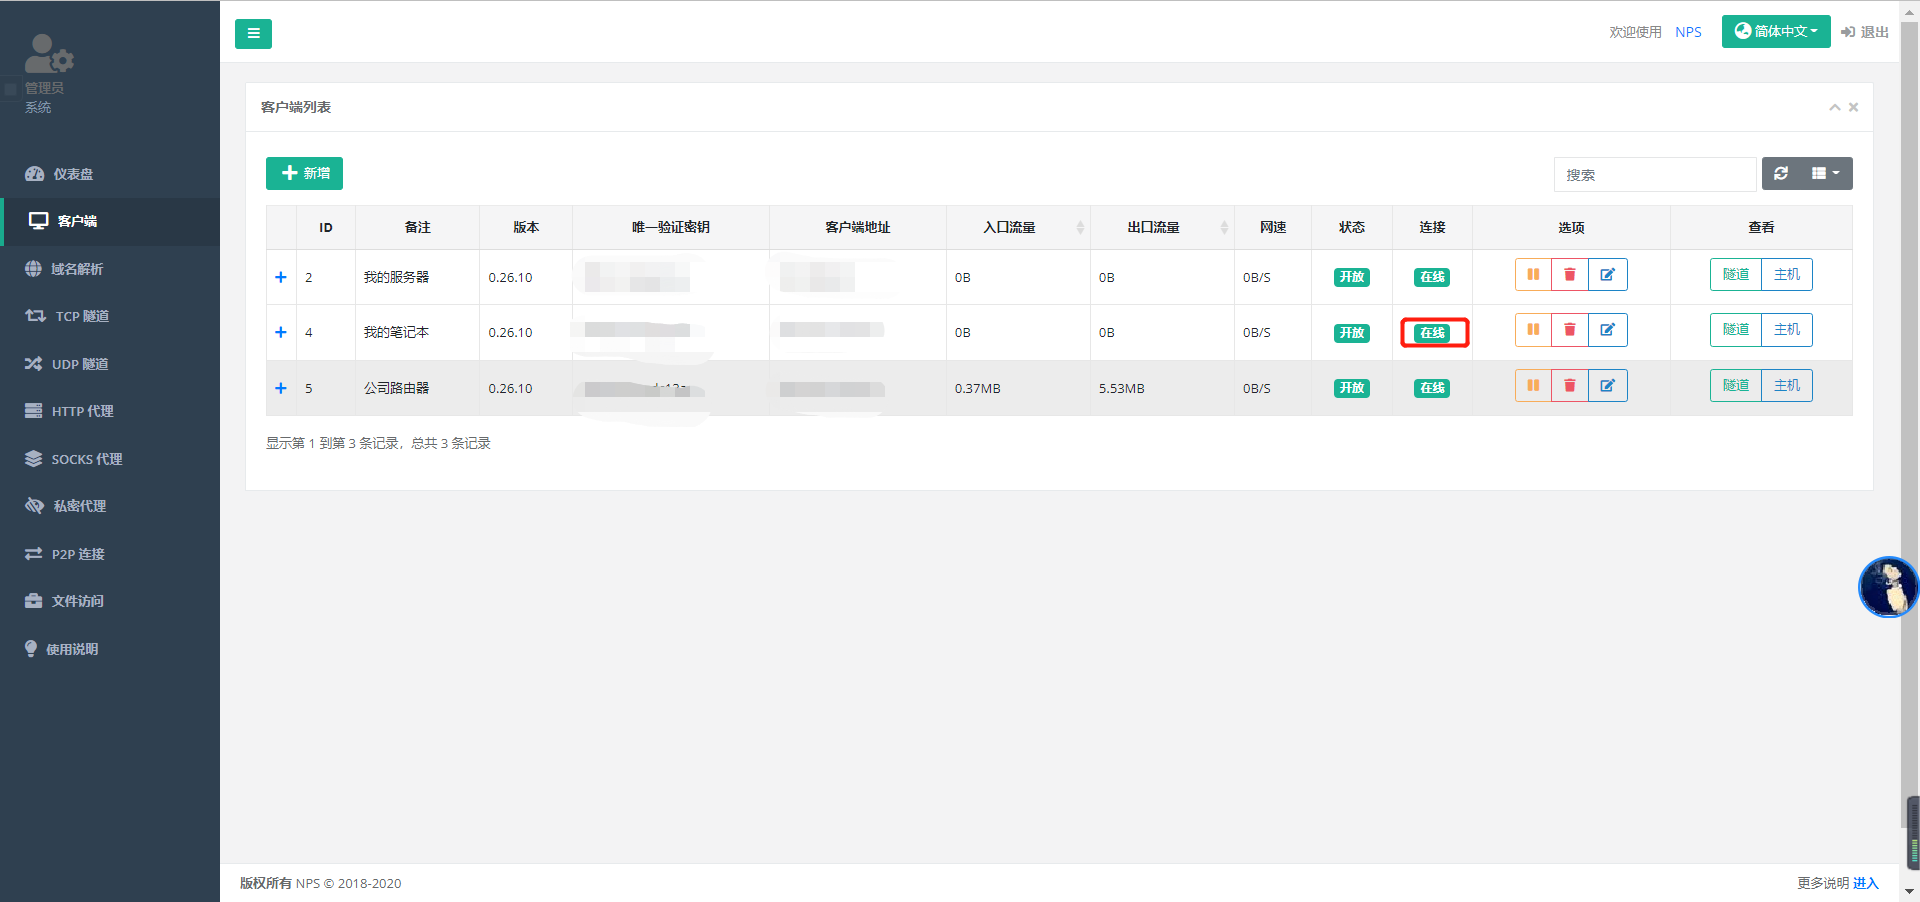
客户端已经上线
5.配置脚本创建快捷方式到桌面
创建一个npc.bat文件
@echo off
if "%1" == "h" goto begin
start mshta vbscript:createobject("wscript.shell").run("%~nx0 h",0)(window.close)&&exit
:begin
d:
cd /d D:\npc
npc.exe
然后右键npc.bat创建快捷方式到桌面,还可以自定义图标,美观好用
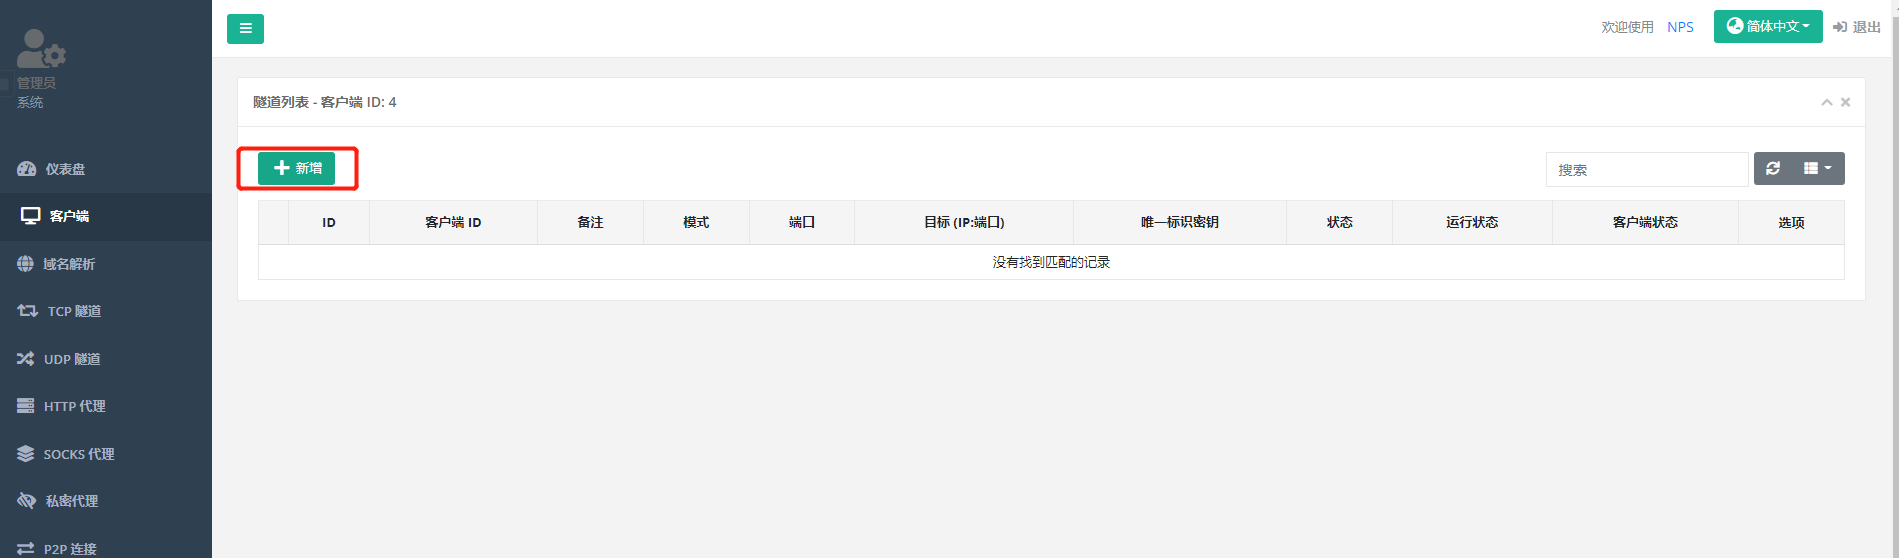
6.创建隧道实现远程我的笔记本
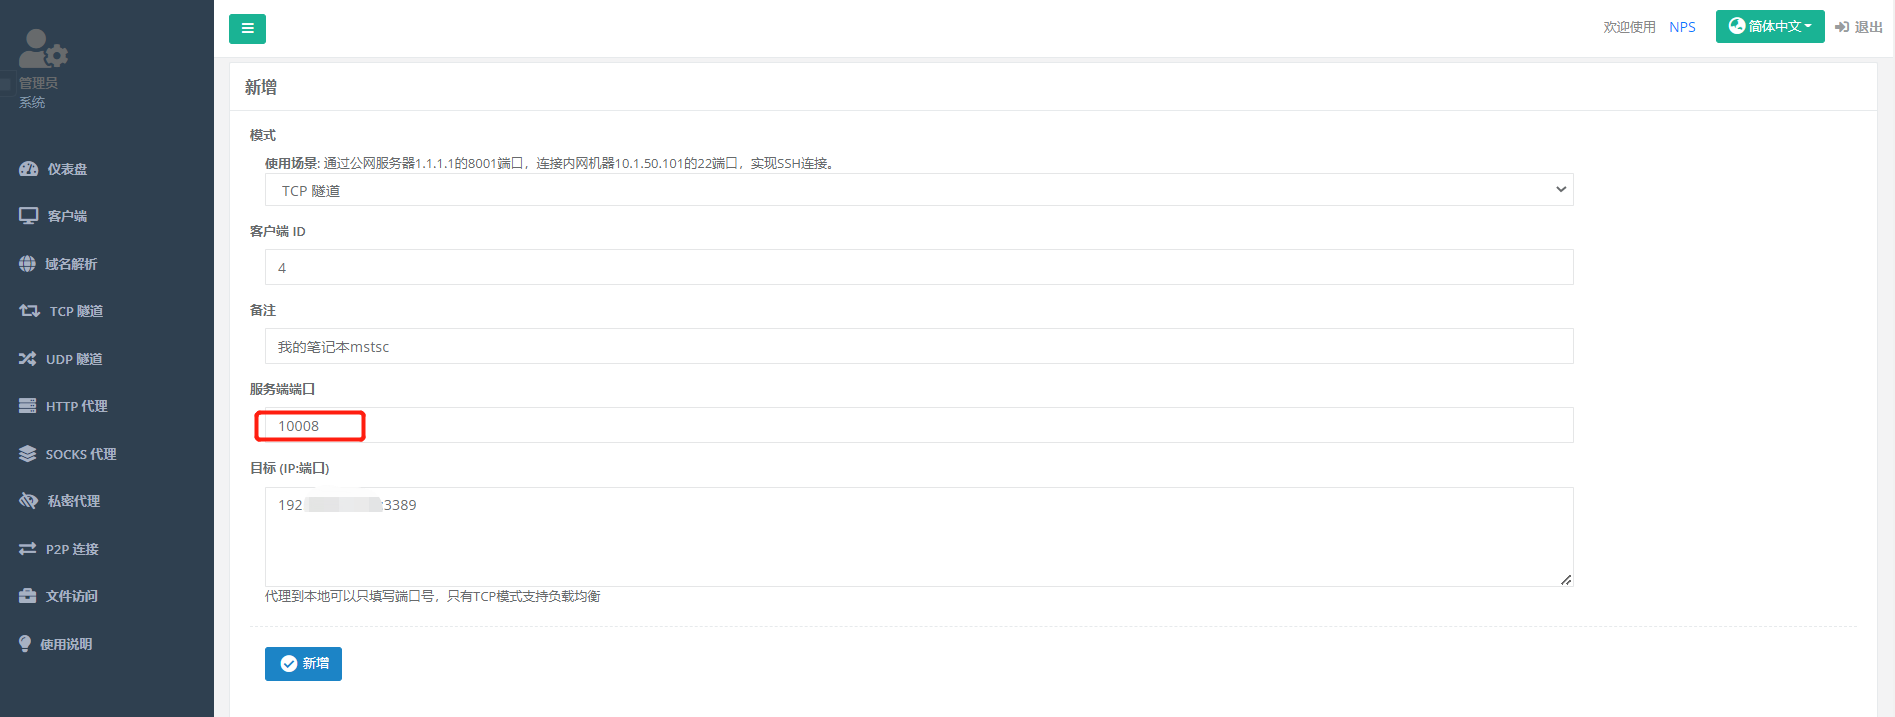
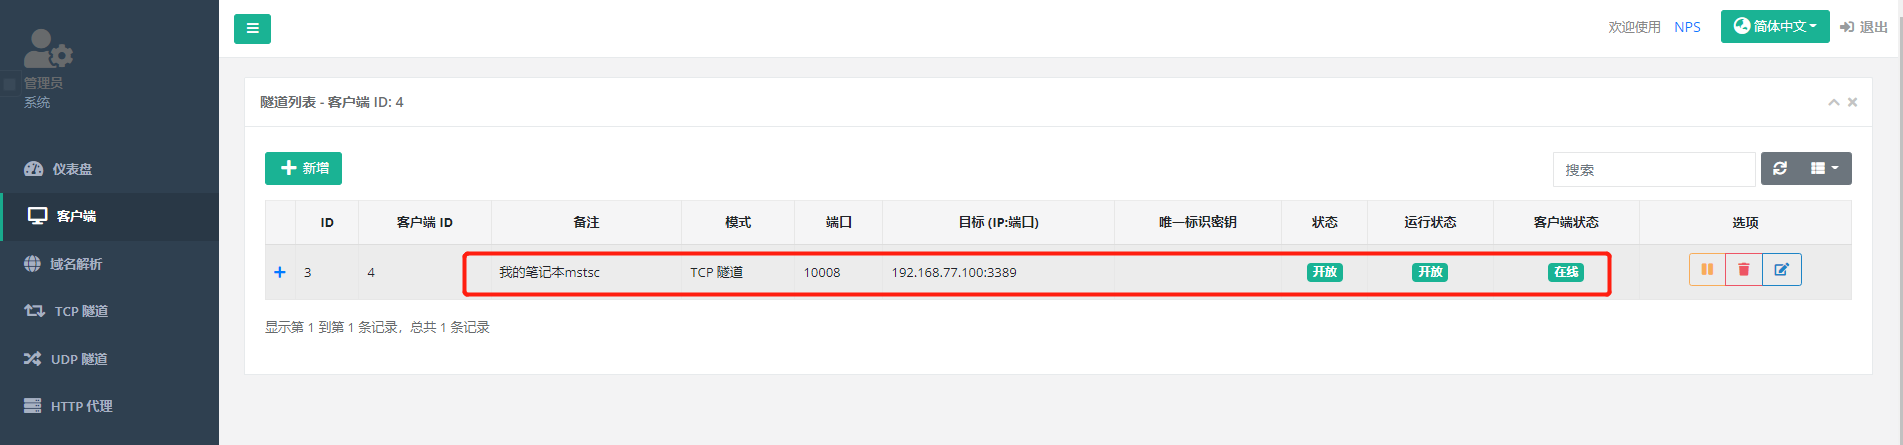
测试远程我的笔记本,以我的手机微软远程为例

7.补充docker安装npc
docker run -d --name npc --net=host ffdfgdfg/npc -server=ip地址:10002 -vkey=验证密钥 -type=tcp
评论区